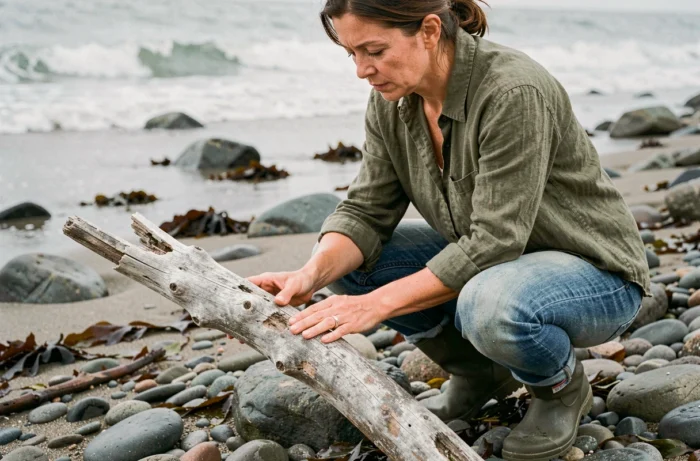
Collecting driftwood on a beach or by a lake may seem trivial. However, preparing it properly for indoor use requires a precise protocol, where each step influences the durability and safety of the final result. What level of treatment should be applied based on the condition of the wood, and which methods yield the best results in terms of preservation?
Preventive or curative treatment of driftwood: two distinct approaches
Most guides apply a single treatment to all collected driftwood. This logic overlooks a documented technical distinction in the field of wood treatment: preventive treatment for healthy wood and curative treatment for already infested wood do not use the same products or techniques.
| Criterion | Preventive Treatment | Curative Treatment |
|---|---|---|
| Condition of the wood | No exit holes, no sawdust | Visible holes, decay, galleries |
| Objective | Prevent any future colonization | Eliminate present larvae and insects |
| Main method | Brushing, complete drying, heat | Injection of xylophene product or advanced thermal treatment |
| Difficulty level | Accessible without specific equipment | May require a specialized product |
| When to apply | Systematically after collection | Only if signs of infestation are detected |
Driftwood that has spent a long time in saltwater often presents less risk of active infestation than wood collected in freshwater, where wood-boring insect larvae survive better. Observing the surface before any intervention allows for adapting the treatment of driftwood to the actual need.
Mechanical preparation of driftwood before drying
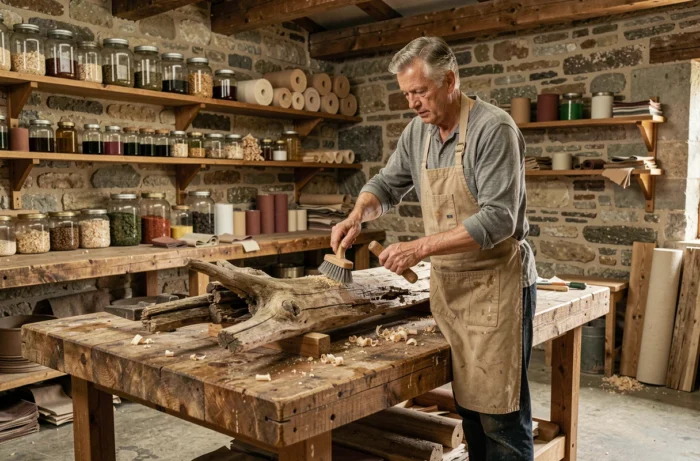
Rinsing alone is not enough. The mechanical preparation determines the effectiveness of all subsequent steps, from drying to finishing. Neglecting this phase means trapping sand, salt, and microorganisms in the wood fibers.
Brushing is the first intervention. A stiff-bristled brush (such as a brass wire brush to avoid excessive scratching) removes debris embedded in the grooves and crevices. For heavily soiled pieces, scraping with a putty knife clears away limestone deposits or remnants of dried algae.
After brushing, prolonged soaking in freshwater – several days in a tub or bathtub – allows for deep desalination of the wood. This step is often shortened in tutorials, while incomplete desalination causes white surface efflorescence after drying.
- Brush each face and cavity with an appropriate brush to remove sand, algae, and deposits
- Soak the wood in freshwater for several days, changing the water regularly to extract salt
- Visually inspect the piece for holes, sawdust, or galleries that would indicate active infestation
- Remove by hand or with a knife any residual bark that could harbor larvae
Drying driftwood: the variable that most underestimate
Wood that is still damp warps or cracks within weeks. Drying is the longest phase of the process and also determines the stability of the finished piece.
Natural drying, in open air and out of direct sunlight, remains the most reliable method for large pieces. Placing the wood on an aerated surface (grid, elevated pallet) prevents moisture stagnation on the underside. The duration varies significantly depending on the thickness of the piece and the ambient humidity: from a few days for a thin twig to several weeks for a thick stump.
Checking moisture content without a moisture meter
A pin-type moisture meter provides an accurate reading, but its absence does not prevent assessing the drying process. Damp wood is noticeably heavier than dry wood of the same size. By weighing it at regular intervals, one can identify when the weight stabilizes.
The surface of the wood also provides clues. Wood ready to be worked on shows no cold spots to the touch, indicating residual moisture. If dark spots persist in the thickest parts, drying is not complete.
Heat against wood-boring insects: method and limits
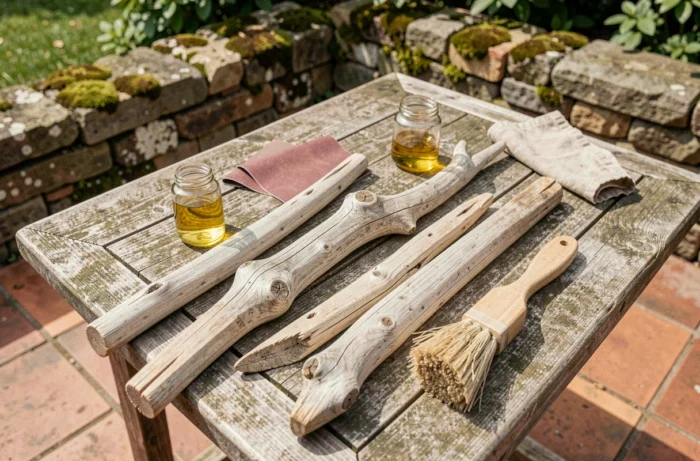
Using a domestic oven is often recommended to eliminate potential insects or larvae. The principle is based on the fact that wood-boring organisms do not survive beyond a certain temperature maintained for a sufficient duration. However, this method only applies to small pieces that can physically fit into a household oven.
For larger pieces, the only accessible thermal option remains prolonged exposure to summer sunlight under a black tarp, which concentrates the heat. Thick or already infested pieces require treatment by injection with a product suitable for wood insects, applied in the existing galleries.
- The domestic oven is suitable for branches and small decorative pieces, at low temperature and constant monitoring
- Larger pieces cannot be thermally treated in a typical domestic setting
- Wood with active galleries falls under curative treatment with xylophene product, not just a simple oven exposure
Collecting driftwood in France: a blurry framework to know
There is no explicit national regulation governing the collection of driftwood washed up on beaches. The framework depends on the location and its manager: a classified site or nature reserve may prohibit any extraction, while an ordinary municipal beach generally tolerates collection for personal use.
However, the sale of driftwood collected from the public maritime domain is considered unauthorized, as this domain is inalienable. For personal decorative use, tolerance remains the norm in most cases, provided that collection is not excessive and does not degrade the site.
Before filling a car trunk, checking for any municipal decrees or signs on site remains the most reliable reflex. A coastal guard or municipal agent can provide information on applicable local restrictions.